Grow guide · New Zealand edition
How to grow cannabis outdoors in New Zealand
Seed to harvest
A complete first outdoor grow guide for New Zealand — the photoperiod season timeline, the numbers that matter, and the five mistakes that kill most first plants. Each stage links to a deeper guide when you want more.
A complete first outdoor autoflower grow for New Zealand — the 10–14 week timeline, the numbers that matter, and the five mistakes that kill most first plants. Each stage links to a deeper guide when you want more.
The five stages
About seven months, September to May (start late October in the South Island). The bar shows each stage’s share of the season.
- Germinate
- Seedling
- Veg
- Flower
- Harvest & cure
-
Germinate
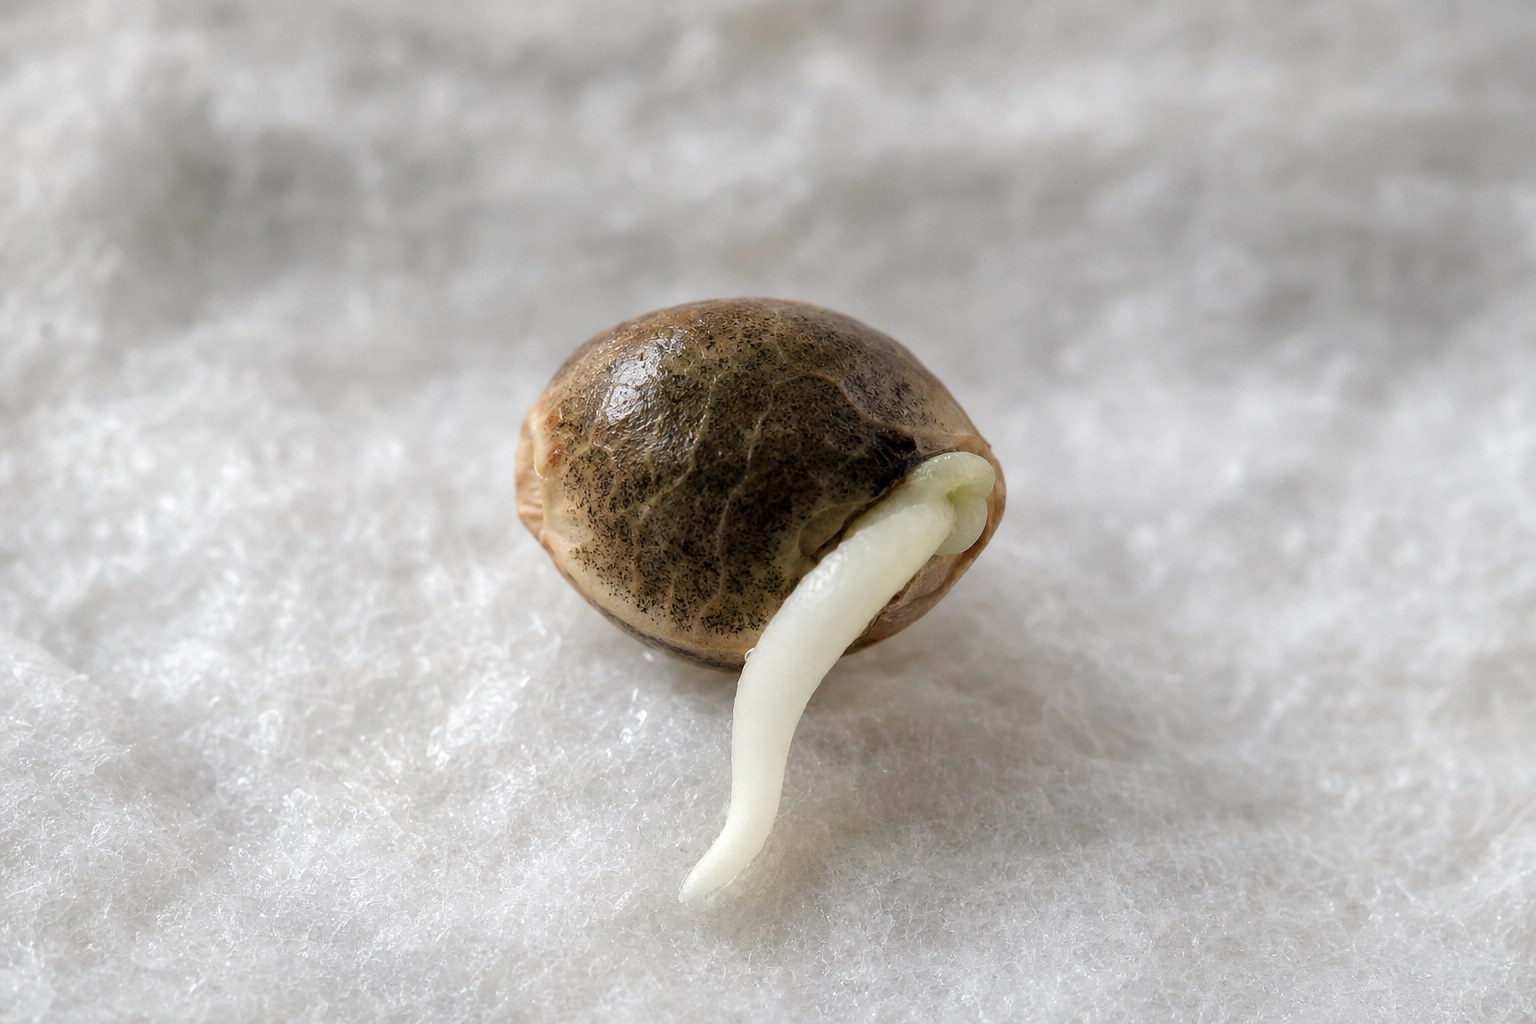
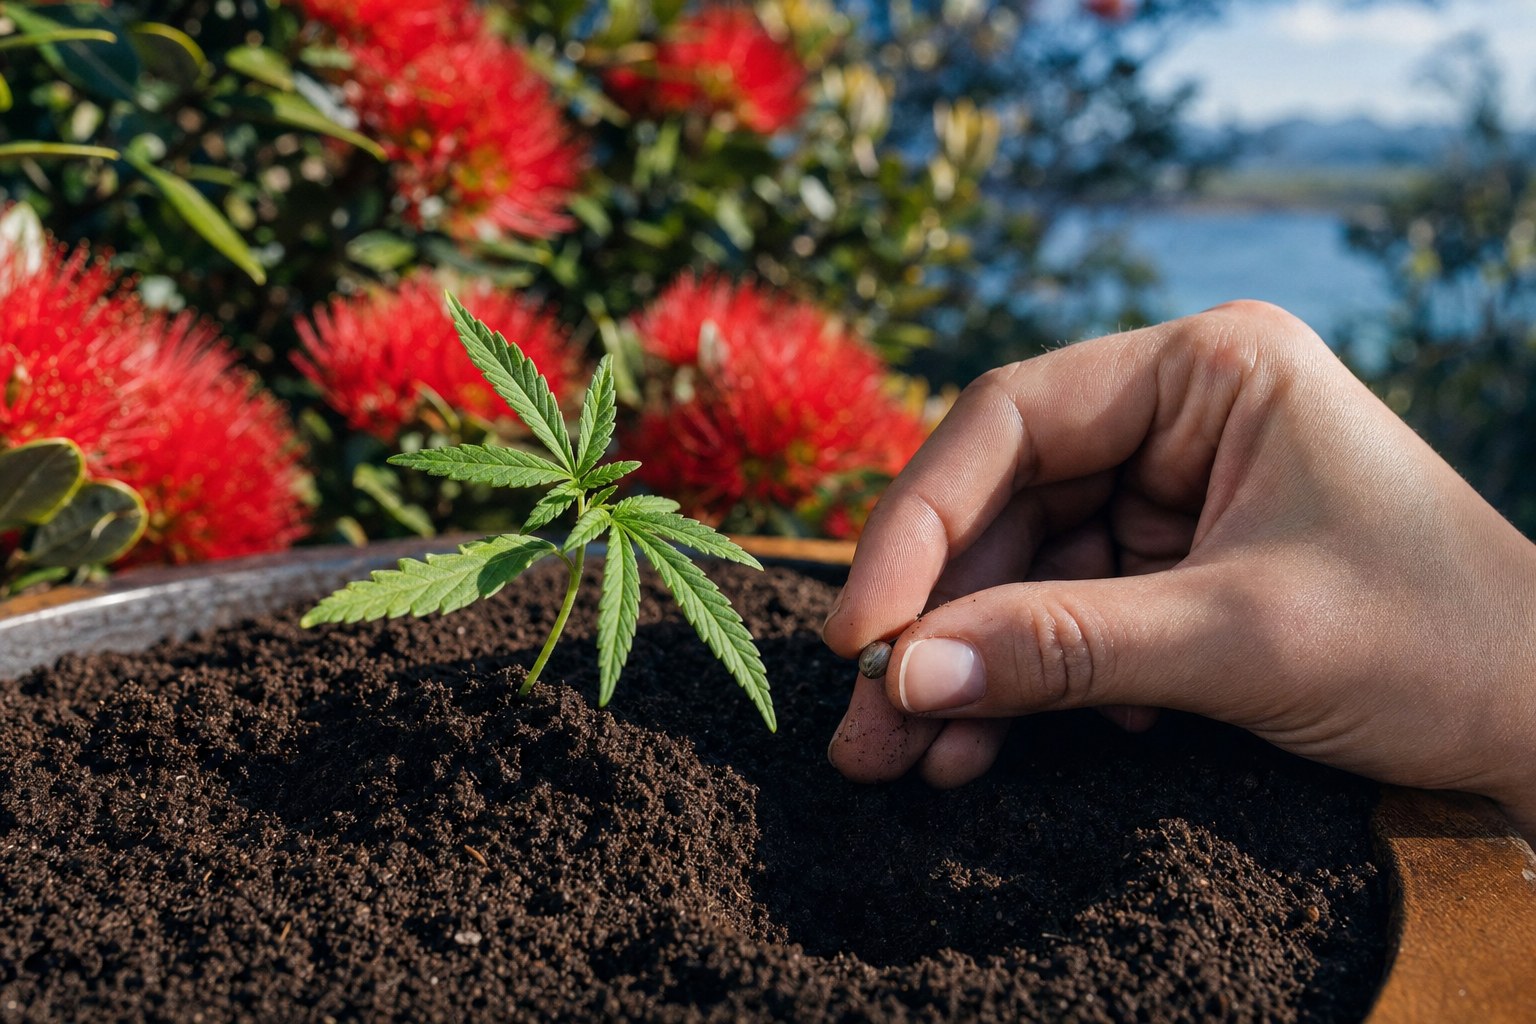
2–7 days Sep – Nov (after Labour Weekend down south)Paper-towel method: seed between damp paper towels on a plate, somewhere warm (21–25°C) and dark. Check daily. When the taproot is 1–2 cm, plant it root-down, 5 mm deep, in a small pot of seed-raising mix.
- Warm, dark, damp
- Taproot 1–2 cm before planting
- Do not touch the root
-
Seedling
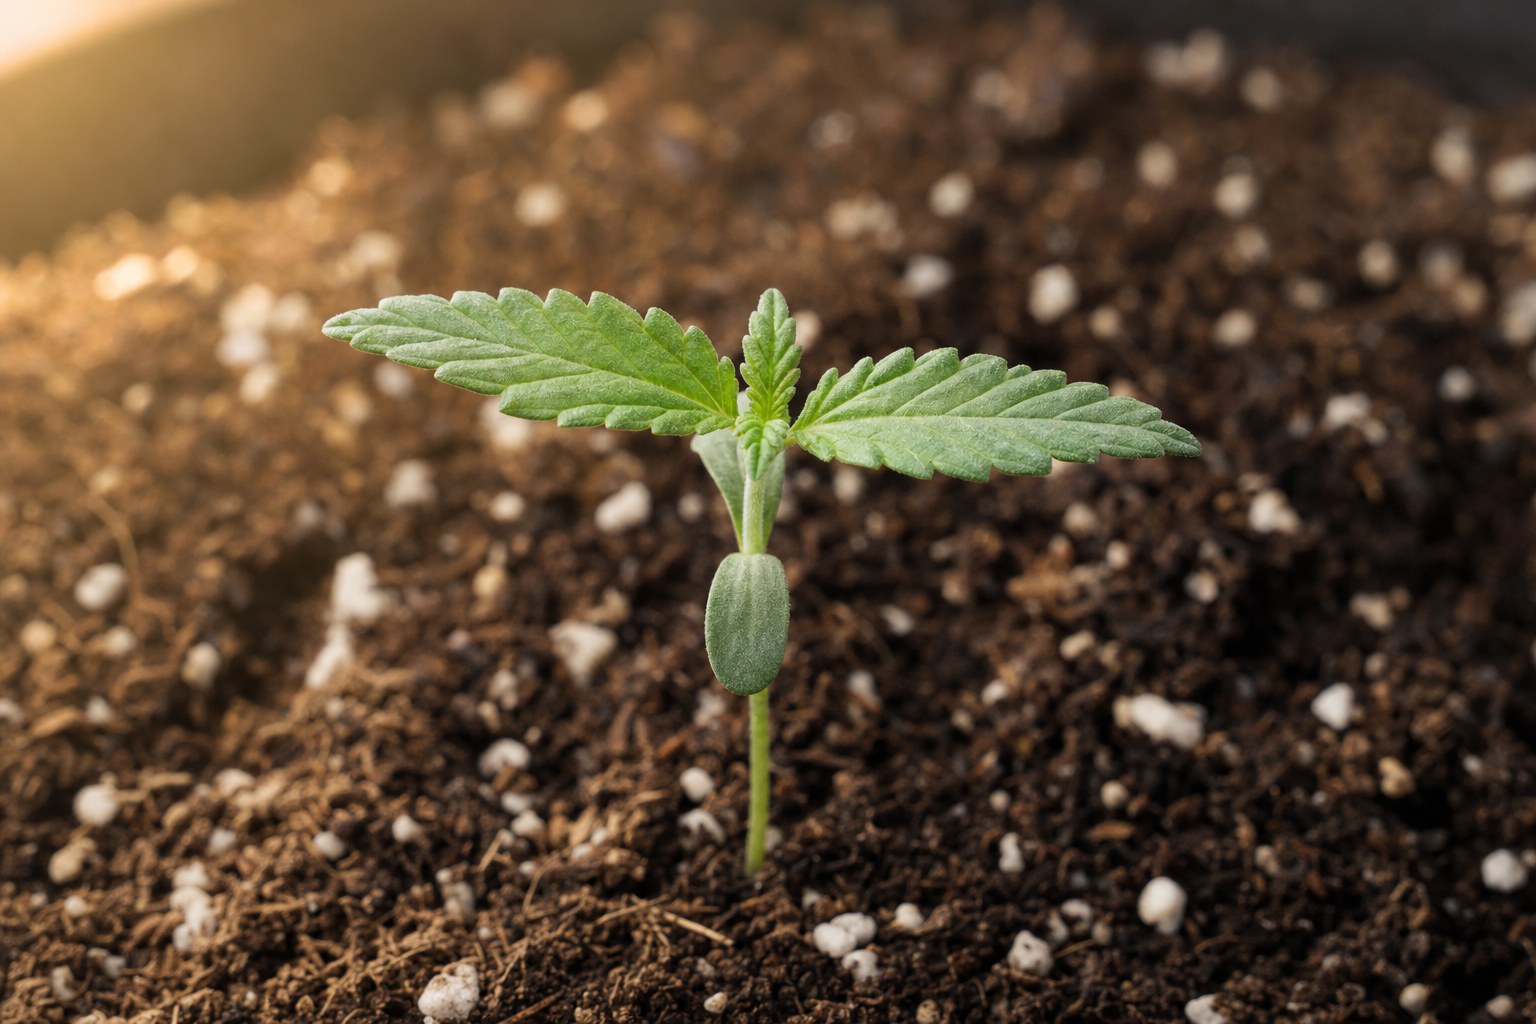
2–3 weeks First true leaves to 3–4 nodesThe fragile stage. Bright light but gentle sun, mist rather than pour, and keep the mix damp — never wet. Most seedling deaths are drowning, not drought. Harden off outdoors over a week before planting out.
- Damp, never soaked
- Gentle morning sun
- Harden off over 7 days
-
Vegetative
6–10 weeks Nov – JanGrowth mode. Full sun (6+ hours), deep infrequent watering, and feed lightly with a high-nitrogen fertiliser. Top the plant once at 4–5 nodes for an even canopy. Bigger pot, bigger plant: 40 L+ for a full-size photoperiod.
- 6+ hrs direct sun
- Water deep, then let dry
- Top once at node 4–5
-
Flowering
7–11 weeks Feb – Apr, as nights lengthenTriggered naturally after the summer solstice as nights stretch past roughly 12 hours. Switch to a bloom fertiliser, stop training, and keep the canopy open — airflow is your mould insurance in a humid autumn.
- Bloom feed from first pistils
- No more training
- Airflow through the canopy
-
Harvest & cure
2–4 weeks Mar – MayHarvest when most trichomes turn cloudy. Hang whole branches in a dark room at about 18°C for 7–14 days until stems snap, then cure in jars, burped daily for the first fortnight.
- Cloudy trichomes
- Dry slow: 7–14 days
- Burp jars daily
The numbers that matter
- Water
- Deep, then dry
- Finger test: water when the top 5 cm is dry
- Soil pH
- 6.0–7.0
- Quality potting mix is already in range
- Veg feed
- High N
- Half-strength to start; less is more
- Flower feed
- High P-K
- Switch at first pistils; flush last 2 weeks
- Temp sweet spot
- 20–28°C
- Growth slows sharply outside it
- Harvest signal
- Cloudy trichomes
- Milky = peak; amber = heavier effect
Five mistakes that kill first grows
Avoid these and you are ahead of most first-time growers.
Overwatering
The number-one killer. Roots need air. Water deeply, then wait until the top 5 cm of soil is dry — usually 2–4 days.
Overfeeding
Burnt leaf tips mean too much, not too little. Start at half the label dose. Good soil needs nothing for the first month.
Planting out too early
One late frost ends everything. Labour Weekend is the rule for a reason; wait for your local last-frost date.
Ignoring airflow
A dense canopy in a humid autumn grows mould, not flower. Thin the interior and keep plants apart.
Harvesting too early
The last two weeks add the most weight and potency. Wait for cloudy trichomes, not excitement.
What you actually need
- Quality potting mix — the whole root zone; do not cheap out here
- 40 L fabric pot — air-prunes roots, hard to overwater
- Two fertilisers — one veg (high N), one bloom (high P-K)
- Jeweller’s loupe — $20, and the only honest harvest signal
- Neem oil — first-line pest control, safe until flower
- Glass jars — for curing — the step that makes it good
What you can skip (for now)
- pH pens & meters — good potting mix buffers itself
- Additive line-ups — two bottles beat ten for a first grow
- Grow tents & lights — the New Zealand sun is free — this guide is outdoor-first
- Automation — hand-watering teaches you to read the plant
Sun, decent soil, water, patience. Everything else is an upgrade, not a requirement.
The five stages
Just 10–14 weeks from sprout to harvest — autos flower on age, not day length, so you can run several rounds per season. The bar shows each stage’s share of the grow.
- Germinate
- Seedling
- Veg
- Flower
- Harvest & cure
-
Germinate
2–7 days Oct – Jan, in roundsPaper-towel method: seed between damp paper towels on a plate, somewhere warm (21–25°C) and dark. Check daily. When the taproot is 1–2 cm, plant it root-down, 5 mm deep, in a small pot of seed-raising mix.
- Warm, dark, damp
- Taproot 1–2 cm before planting
- Do not touch the root
-
Seedling
1–2 weeks The clock is already runningThe fragile stage, on fast-forward. Mist rather than pour and keep the mix damp — never wet. Any stall now permanently reduces potential; an auto never pauses to recover, it just finishes smaller.
- Damp, never soaked
- Gentle morning sun
- Avoid any setback
-
Vegetative
3–4 weeks Flowering starts on its own after thisShort and automatic — the plant flowers on age, not day length. Full sun, light feeding, and skip topping: low-stress training is the only training an auto has time for.
- Full sun from day one
- LST only — no topping
- Feed at quarter strength
-
Flowering
4–6 weeks Automatic, about 4 weeks from sproutFlowers arrive regardless of season or daylight. Switch to a bloom fertiliser at first pistils and keep the canopy open. Stagger sowings a month apart to harvest in waves through the season.
- Bloom feed from first pistils
- Airflow through the canopy
- Stagger sowings for waves
-
Harvest & cure
2–4 weeks 10–14 weeks from sprout, totalHarvest when most trichomes turn cloudy. Hang whole branches in a dark room at about 18°C for 7–14 days until stems snap, then cure in jars, burped daily for the first fortnight.
- Cloudy trichomes
- Dry slow: 7–14 days
- Burp jars daily
The numbers that matter
- Water
- Deep, then dry
- Finger test: water when the top 5 cm is dry
- Soil pH
- 6.0–7.0
- Quality potting mix is already in range
- Veg feed
- High N
- Half-strength to start; less is more
- Flower feed
- High P-K
- Switch at first pistils; flush last 2 weeks
- Total lifecycle
- 10–14 weeks
- No pause button — avoid all stress
- Harvest signal
- Cloudy trichomes
- Milky = peak; amber = heavier effect
Five mistakes that kill first grows
Avoid these and you are ahead of most first-time growers.
Overwatering
The number-one killer, and doubly costly for autos — a stalled week is a week of the lifecycle gone. Water deeply, then let the top 5 cm dry.
Transplanting
Autos hate root disturbance. Germinate straight into the final pot — every root setback costs potential the plant never makes back.
Topping an auto
There is no time to recover from heavy pruning. Tie branches down gently (LST) instead of cutting.
Overfeeding
Autos are lighter feeders than photoperiods. Start at quarter strength; burnt tips mean too much, not too little.
Harvesting too early
The last two weeks add the most weight and potency. Wait for cloudy trichomes, not excitement.
What you actually need
- Quality potting mix — light and airy — autos like a gentler mix
- 20 L fabric pot — the final pot from day one; no repotting
- Two fertilisers — one veg (high N), one bloom (high P-K), quarter strength
- Soft plant ties — for LST — the only training an auto has time for
- Jeweller’s loupe — $20, and the only honest harvest signal
- Neem oil — first-line pest control, safe until flower
- Glass jars — for curing — the step that makes it good
What you can skip (for now)
- pH pens & meters — good potting mix buffers itself
- Additive line-ups — two bottles beat ten for a first grow
- Grow tents & lights — the New Zealand sun is free — this guide is outdoor-first
- Automation — hand-watering teaches you to read the plant
Sun, decent soil, water, patience. Everything else is an upgrade, not a requirement.
Go deeper
This page is enough to get started. When you hit a specific question, these guides have the detail.
Stage 1
Germination, step by step
Paper towel vs direct sow, with photos of each day.
Read the guideStage 2–3
Training and feeding in veg
Topping, tying down, and a simple feed schedule.
Read the guideStage 4
Flowering week by week
What normal looks like from stretch to swell.
Read the guideStage 5
Harvest, drying and curing
Trichome photos, dry-room setup, jar schedule.
Read the guideTroubleshooting
Reading sick leaves
A visual chart: what yellowing, curling and spots mean.
Read the guidePlanning
The New Zealand planting calendar
Zone-by-zone sowing and harvest windows.
Read the guide